Protective canopy installing
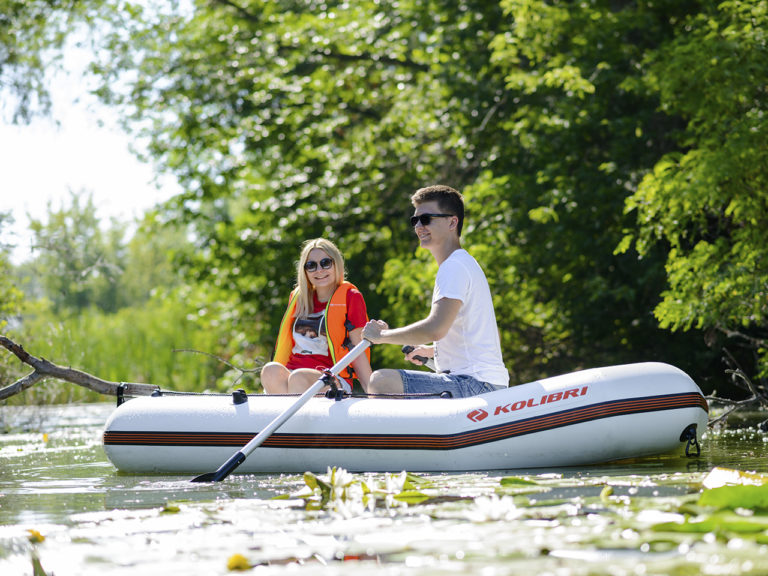
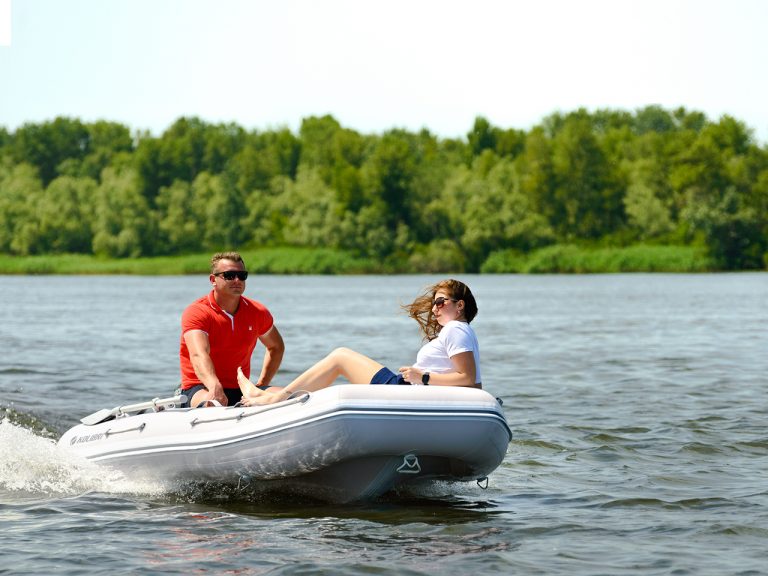
Recreation on water is always a wonderful opportunity to enjoy nature, take a break from everyday affairs, and experience true freedom. But to make this experience comfortable and safe, it’s important to ensure reliable protection from the sun, wind, rain, and splashes. And this is where a boat sun canopy or tent-canopy comes to the rescue.
Proper installation of the canopy is an important but simple process. Mistakes often occur when people don’t read the installation instructions that come with all official canopies from the “Kolibri” company.
Therefore, here we will briefly describe the process of installing a canopy to help you avoid typical mistakes. By following our advice, you will be able to quickly and reliably set up your canopy.
Brief About Canopies
Types of Canopies
Modern boat canopies have various designs, allowing each owner to choose the ideal option for their needs. The main types of canopies for boats are:
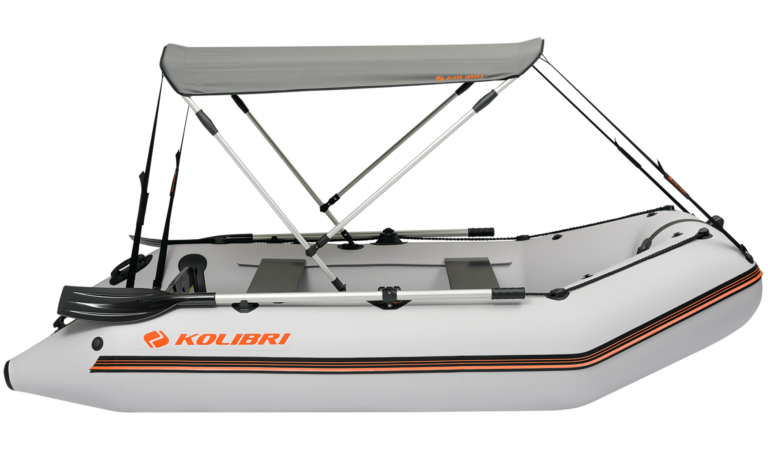
- Sun canopies – serve as a light awning, protecting from scorching rays and light precipitation.
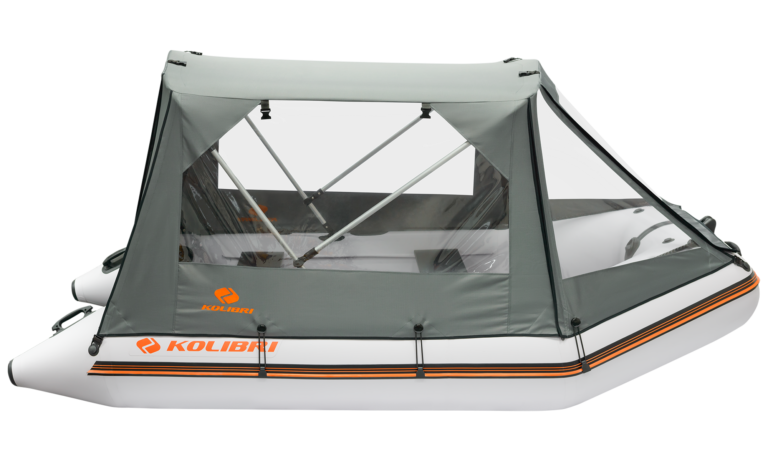
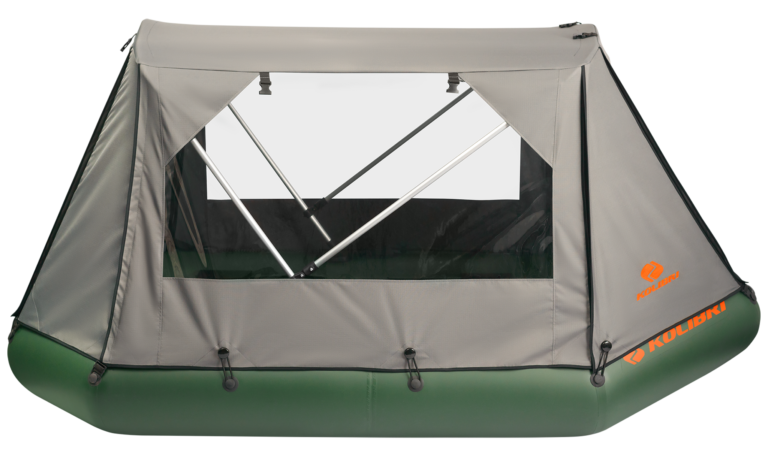
- Tent-canopies – a universal option that completely covers the cockpit of the boat, creating a kind of mini-cabin for comfortable relaxation.
We also offer Bow and Transportation (storage) canopies, but we’re not discussing them now.
Features of Canopies
For a boat canopy to perform its functions 100%, it must meet several important criteria:
- Material. Canopies are made of durable, waterproof fabrics such as Ripstop, Oxford, or Cordura, which withstand intensive use and harsh weather conditions.
- Construction. For reliable attachment, special loops, hooks, and aluminum frames are used, making the canopy resistant to wind and splashes.
- Ease of installation. A quality canopy should be quick and easy to install and remove, not requiring significant effort or special skills.
- Adaptation to the boat. Some canopy models are created for specific boats, while universal canopies, such as “Kolibri,” are suitable for various manufacturers and models.
Using Canopies
- do not move the boat at high speed with the canopy installed;
- do not use the canopy in strong winds;
- do not use the canopy at low temperatures (t = -5°C)
- dry the canopy before putting it back in its case
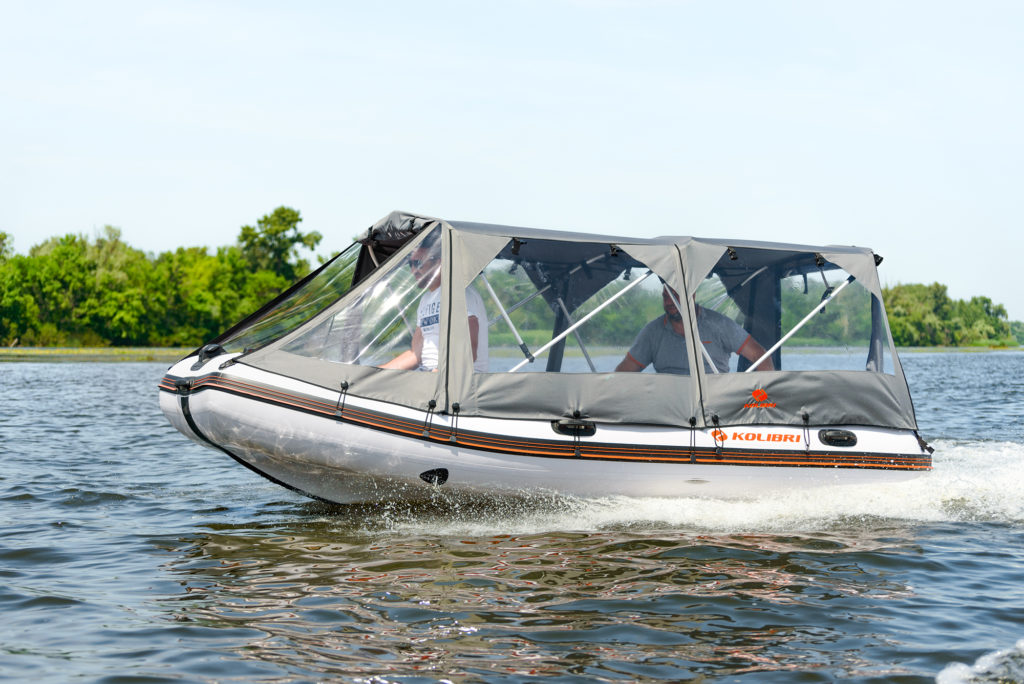
Installing a Tent-Canopy
The canopy is easy to install, with no fundamental difference between mounting it on a motor or rowing boat. The canopy is stretched over an aluminum frame, the support posts of which are inserted into special mounts that must be pre-glued to the boat hull in specific locations.
Before You Begin, Make Sure That:
- The type of canopy is suitable for your boat model
- The canopy is installed on an inflated boat
- The boat is on a flat, dry, and horizontal surface
- The boat hull is clean and dry
About Gluing Canopy Mounts
Special glue for PVC products can be found included with your canopy.
- Place the main and auxiliary mounts (according to the diagram) on the boat hull and trace around them.
- Clean the outlined areas.
- Apply the first thin layer of glue to each surface, wait 30 minutes until the glue becomes dry but not sticky.
- Apply a second thin and even layer to each surface. Wait 3-5 minutes. Do not dry completely.
- Place the mounts onto the gluing locations on the tube. Press and smooth this area with a special roller.
- Carefully heat the glued area with a hair dryer to 60 degrees and press again.
- No sooner than 3-4 hours after gluing can you proceed with installing the canopy.
Mount Marking Diagram for Boat Model KM-360DXL


Mount Marking Diagram for “Standard” Series Rowing Boats


Canopy Installation Stages
We already have the main and auxiliary mounts glued in place.
- Secure the support posts in the main mount using the screw.
- Visually determine the bow and stern parts of the canopy depending on the boat model.
- Insert the frame arches into the canopy pockets located inside the canopy.
- Connect the frame arches with the support posts using the button fastener until you hear a characteristic click.
Hint:
- Marking the locations for gluing mounts on motorboats goes from stern to bow.
- Marking the locations for gluing mounts on rowing boats goes from bow to stern.